Turning your traditional pencil sketches into crisp, digital line art can open up a world of possibilities for coloring and further digital manipulation. Whether you’re aiming for a polished comic book style or simply want to digitize your sketchbook doodles, starting with a clean scan is crucial. For artists who love the tactile feel of pencil on paper but desire the versatility of digital art, mastering the process of cleaning up scanned sketches is an essential skill. Fortunately, Clip Studio Paint offers a suite of powerful tools specifically designed to transform your sometimes-messy scans into professional-looking line art.
In this guide, we’ll walk you through the essential steps to take your scanned pencil drawings and refine them using Clip Studio Paint. We’ll cover everything from optimal scanning practices to utilizing Clip Studio Paint’s features to enhance contrast, adjust levels, and prepare your sketch for smooth digital inking. Let’s dive in and learn how to make your scanned artwork shine!
Scanning Your Artwork for Optimal Results
The journey to perfect digital line art begins even before you open Clip Studio Paint – it starts with the scanning process. A good scan will save you time and effort in the cleanup stage. While a photo might seem like a quick alternative, scanners offer superior consistency and flatness, which are vital for clean line art.
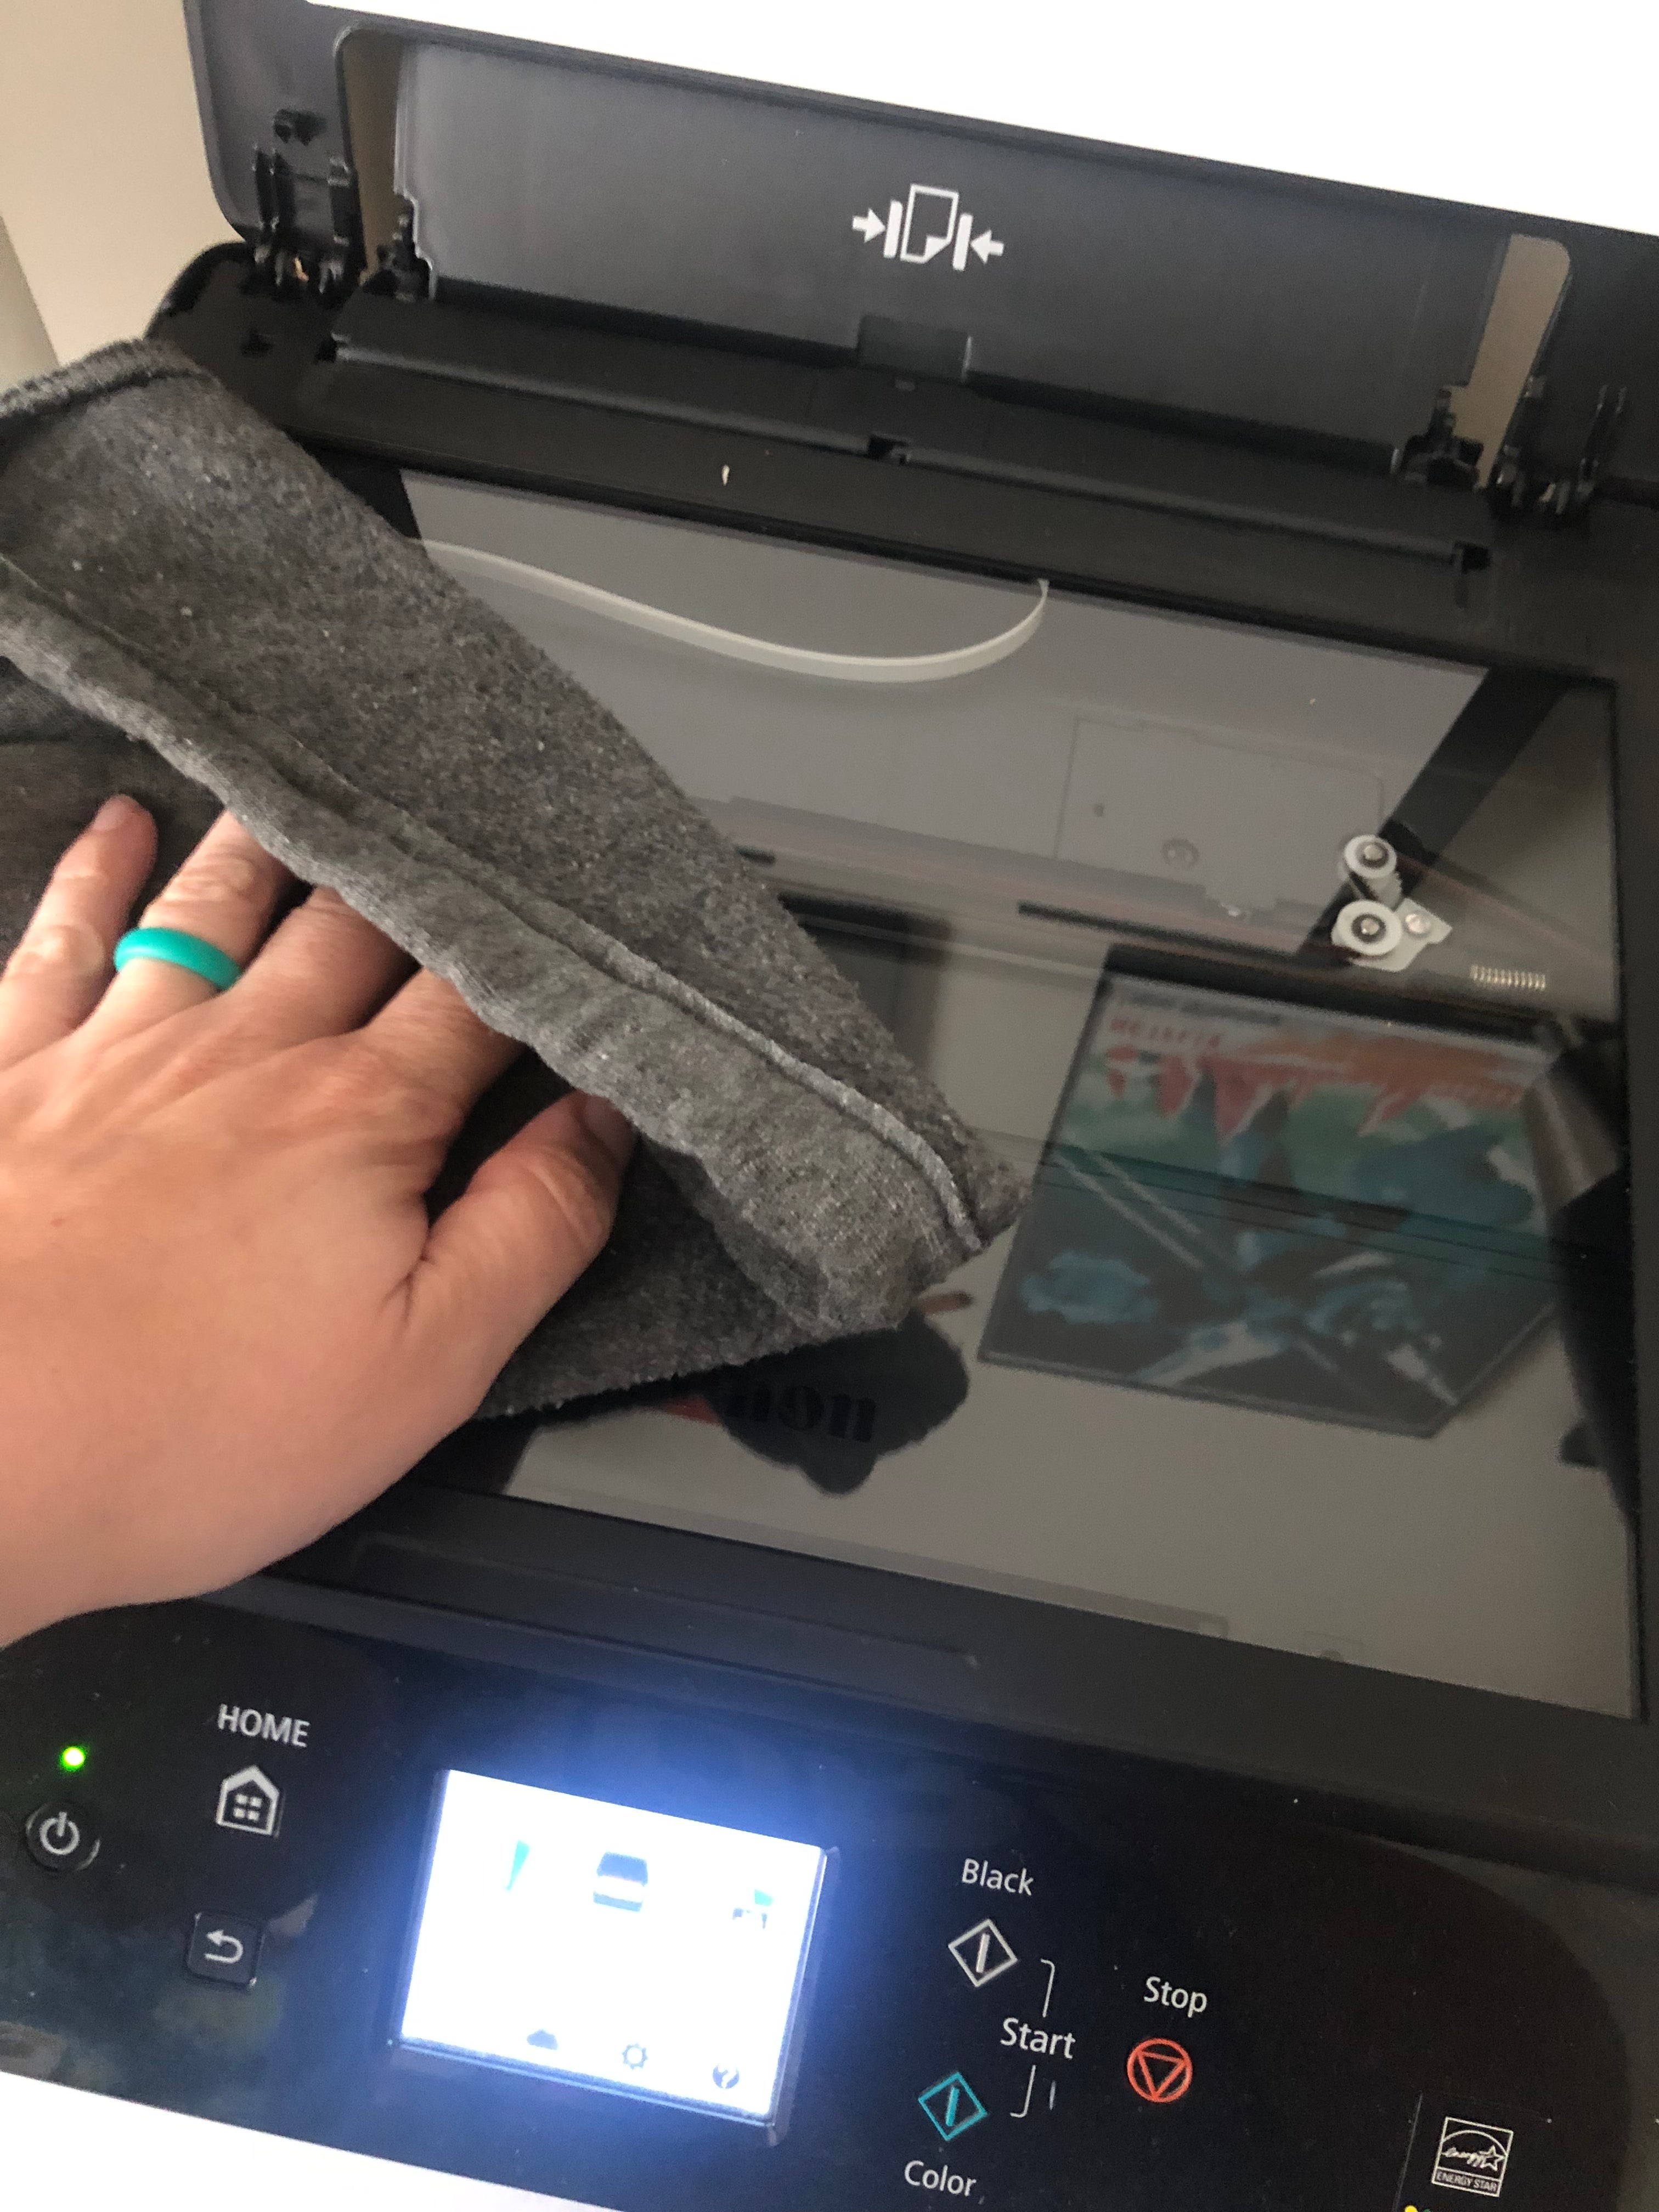
Before placing your sketch on the scanner, it’s a good practice to ensure the scanner glass is clean. A quick wipe with a soft cloth can remove dust and smudges that might appear in your scan, saving you cleanup work later.
Place your sketch face down on the scanner bed. The specific steps for initiating a scan will vary depending on your scanner model. Most scanners, like the Canon all-in-one model used here, have a dedicated “Scan” button or option on their control panel. Refer to your scanner’s manual for detailed instructions if needed.
When setting up your scan, aim for a resolution of at least 300dpi (dots per inch). This resolution is generally considered the standard for print quality and provides enough detail for digital inking and coloring. Scanning as a JPG file is usually sufficient for sketches, but for artwork with subtle tonal variations, you might consider TIFF or PNG formats for lossless quality.
Once you’ve configured your scanner settings, initiate the scan. Your computer should display a progress message indicating that the scan is in progress.
After scanning, save the image to a location you can easily access. Now, it’s time to open Clip Studio Paint and begin the process of refining your scanned sketch.
Refining Your Scanned Sketch with Clip Studio Paint Tools
With your scan successfully imported into Clip Studio Paint, the first step is often to correct the orientation. Scanners don’t always align perfectly, and you might find your sketch is rotated incorrectly.
To rotate your canvas, navigate to Edit > Rotate/flip canvas. Choose the appropriate rotation direction, such as “Rotate by 90 degrees Clockwise,” until your sketch is oriented correctly.
Correcting the rotation ensures you can work on your sketch comfortably.
Next, you’ll want to enhance the visibility of your pencil lines. Scanned pencil sketches often appear light and faint, making them difficult to ink over digitally. Clip Studio Paint’s Level Correction tool is perfect for increasing the contrast and darkening your pencil lines.
Access Level Correction by going to Edit > Tonal Correction > Level Correction.
The Level Correction interface might seem intimidating at first, but it’s quite user-friendly. Ensure the “Preview” checkbox is checked to see real-time adjustments. The tool features a histogram and three triangular sliders beneath it. By adjusting these sliders, you can manipulate the tonal range of your image.
To darken your pencil lines and lighten the paper background, try moving the black input slider (leftmost) slightly to the right and the white output slider (rightmost, under “Output”) slightly to the left. Experiment with these sliders until you achieve a good balance where your pencil lines are dark and distinct.
Click “OK” to apply the Level Correction adjustments.
To further prepare your sketch for inking, changing the layer color can be beneficial. By making your sketch lines a different color than your intended ink color (typically black), you can easily differentiate between the sketch and your final lines. Clip Studio Paint’s Layer Color feature simplifies this.
In the Layer Property palette, locate and click the “Layer Color” icon. This will apply a default color, often blue, to your entire sketch layer.
You can customize the Layer Color by clicking on the color bar next to the “Layer Color” box and selecting a new color from the color picker. A light blue or green is often a good choice, providing enough contrast without being too distracting.
Finally, create a new layer above your sketch layer. This new layer is where you will do your digital inking. Select your preferred inking tool – Clip Studio Paint offers a wide array of pens, brushes, and pencils – and begin tracing over your pencil lines. Once you’ve completed your inking, you can hide the sketch layer to admire your clean, digitally inked line art.
Conclusion: Bridging Traditional and Digital Art
While digital art tools become increasingly sophisticated, the charm of traditional sketching remains undeniable. Knowing how to effectively digitize your pencil sketches using Clip Studio Paint allows you to seamlessly blend the best of both worlds. By utilizing the scanning and cleanup techniques outlined here, you can preserve the organic feel of your hand-drawn lines while gaining the flexibility and polish of digital artwork. Experiment with these Clip Studio tools and discover how they can elevate your scanned sketches into stunning digital creations.

