Your cart is currently empty!

Ross-Tech USB Driver Windows 8.1: A Comprehensive Guide to Installation and Troubleshooting
Finding the right Ross-Tech USB driver for your Windows 8.1 system is crucial for a seamless diagnostic experience with your vehicle. This guide provides a step-by-step approach to downloading, installing, and troubleshooting the Ross-Tech USB driver, ensuring you can diagnose and resolve car issues effectively.
Understanding the Ross-Tech USB Driver
The Ross-Tech USB driver acts as a communication bridge between your Windows 8.1 computer and your vehicle’s onboard diagnostic system. This driver allows your computer to understand and interact with the data transmitted through the Ross-Tech interface, enabling you to perform diagnostics, read and clear fault codes, access live data, and more.
Why is the Ross-Tech USB Driver Important?
Without the correct driver, your computer won’t recognize the Ross-Tech interface. This lack of communication prevents you from using the full potential of your diagnostic tool. A properly installed Ross-Tech USB driver is essential for:
- Establishing Connection: It allows your Windows 8.1 computer to recognize and connect to your Ross-Tech interface.
- Data Transmission: Facilitates the exchange of diagnostic information between your computer and your vehicle.
- Software Compatibility: Ensures the proper functioning of the Ross-Tech diagnostic software on your Windows 8.1 system.
Downloading the Right Ross-Tech USB Driver
Before downloading the driver, it’s important to identify the type of Ross-Tech interface you have. Ross-Tech offers various interfaces, each with a specific driver.
- Visit the Official Ross-Tech Website: Go to the Ross-Tech website and navigate to the “Downloads” or “Support” section.
- Locate the Drivers Page: Find the specific area for USB drivers.
- Choose Your Interface: Select your Ross-Tech interface model from the list provided.
- Select Your Operating System: Choose “Windows 8.1” as your operating system.
- Download the Driver: Click the download link to save the driver file to your computer.
Step-by-Step Installation Guide
Once you have downloaded the correct Ross-Tech USB driver for your Windows 8.1 system, follow these steps to install it:
- Locate the Downloaded File: Find the downloaded driver file (usually a .zip or .exe file) on your computer.
- Extract the File (If Necessary): If the driver is in a compressed format like .zip, extract its contents to a location you can easily access.
- Run the Setup File: Double-click the setup or installation file (usually named “setup.exe” or similar) to start the installation process.
- Follow the On-Screen Instructions: Carefully read and follow the instructions provided by the installation wizard.
- Connect Your Ross-Tech Interface (If Prompted): The installation process might ask you to connect your Ross-Tech interface to the computer at a certain point. Connect it when instructed.
- Restart Your Computer: After the installation is complete, restart your computer to ensure that the driver is correctly loaded.
Troubleshooting Common Issues
While installing the Ross-Tech USB driver on Windows 8.1 is usually straightforward, you might encounter some common issues. Here’s a troubleshooting guide:
Driver Not Recognized
- Check Compatibility: Ensure you have downloaded the correct driver specifically designed for Windows 8.1 and your Ross-Tech interface model.
- Run as Administrator: Right-click the installation file and select “Run as administrator” to install the driver with elevated permissions.
- Disable Driver Signature Enforcement: Temporarily disabling driver signature enforcement in Windows 8.1’s advanced boot options can sometimes resolve installation problems.
Connection Problems
- Try Different USB Ports: Connect your Ross-Tech interface to different USB ports on your computer to rule out any port-specific issues.
- Check Cable Connection: Ensure that the cable connecting your Ross-Tech interface to your vehicle’s diagnostic port is securely fastened and undamaged.
- Verify Vehicle Ignition: Make sure your vehicle’s ignition is turned on (or in the “On” position) to power the onboard diagnostic system.
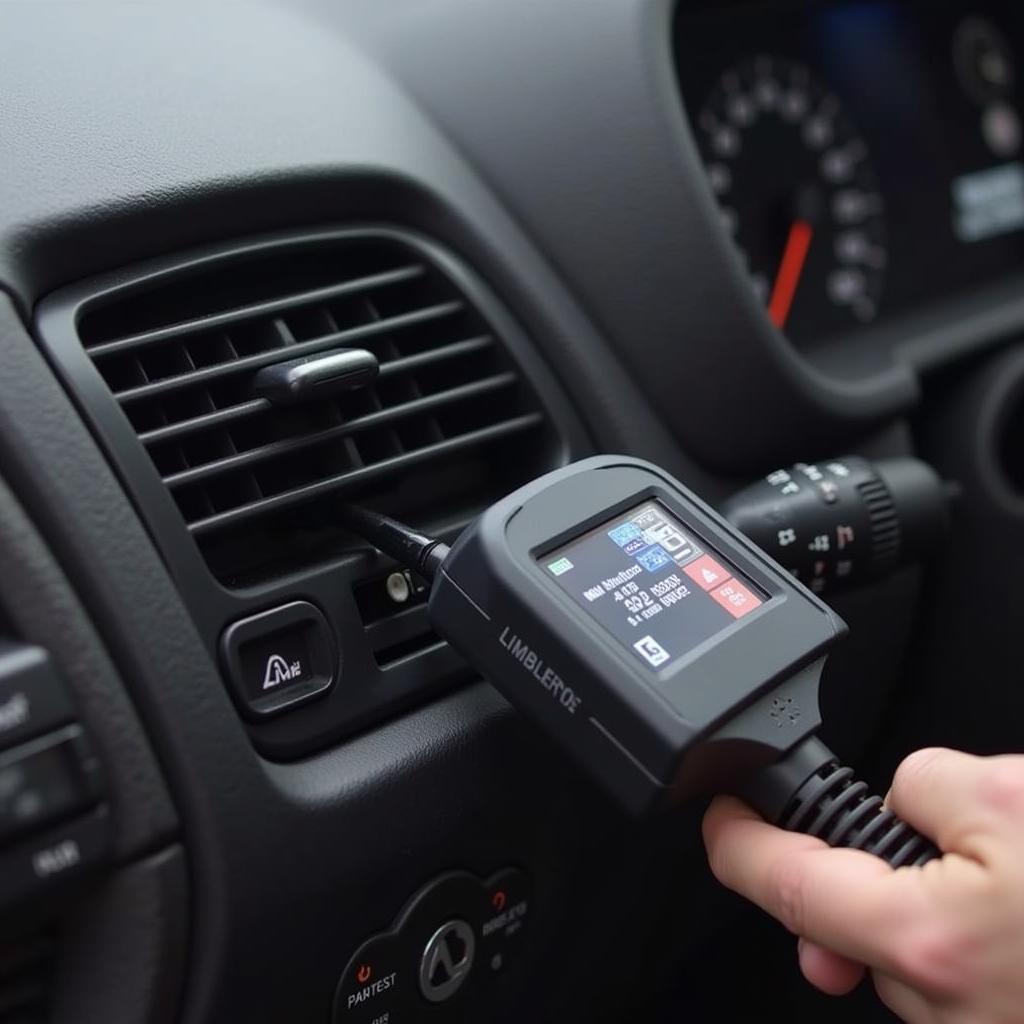
 Ross-Tech interface connected to a car’s OBD-II port
Software Errors
- Reinstall Ross-Tech Software: If you experience software errors after installing the driver, try uninstalling and reinstalling your Ross-Tech diagnostic software.
- Update to the Latest Version: Check for any available updates for your Ross-Tech software, as updated versions often include bug fixes and driver improvements.
“It’s important to remember that using the correct driver version is crucial not only for the functionality of your diagnostic tool but also for the safety of your vehicle’s electronics. Using an incompatible or outdated driver can potentially lead to communication errors and even damage to your car’s systems.” – John Miller, Senior Automotive Electrician
Conclusion
The Ross-Tech USB driver is a critical component for successfully using your Ross-Tech interface with a Windows 8.1 computer. By downloading the correct driver from the official website and following the installation steps outlined above, you can ensure seamless communication between your computer and your vehicle for accurate diagnostics and troubleshooting.
If you encounter any challenges during the installation process or experience any issues, don’t hesitate to contact our expert team at +1 (641) 206-8880 and our email address: vcdstool@gmail.com or visit our office located at 6719 W 70th Ave, Arvada, CO 80003, USA. We’re here to help you get the most out of your Ross-Tech diagnostic tools.
by
Tags:
Leave a Reply