Your cart is currently empty!

Vagcom Ross Tech How to Diagnose a Bad Relay
Diagnosing a bad relay is a common task for car owners and mechanics alike. With the help of a versatile tool like the Vagcom Ross Tech, pinpointing the source of a faulty relay becomes a more manageable process. This guide will walk you through the steps of how to effectively diagnose a bad relay using your Vagcom Ross Tech.
Understanding Relays and Their Significance
Relays are the unsung heroes of your car’s electrical system. These small, electromechanical switches play a vital role in controlling various electrical circuits, often involving high current loads. Imagine them as intermediaries, protecting sensitive components from voltage fluctuations and ensuring the smooth operation of essential functions like your headlights, fuel pump, or even your starter motor.
A typical relay comprises a coil, an armature, and a set of electrical contacts. When the coil receives a small electrical signal, it activates the armature, which then either closes or opens the contacts, thereby controlling the flow of current to a specific circuit.
Common Symptoms of a Bad Relay
Faulty relays can manifest in various perplexing ways, making it challenging to diagnose them without the right tools and knowledge. Here are some telltale signs that might indicate a failing relay:
- Clicking Sounds: A rhythmic clicking sound emanating from your fuse box or relay panel is often an early indication of a relay struggling to engage.
- Intermittent Electrical Issues: Experiencing intermittent problems with components like your headlights, wipers, or power windows? This could be a sign of a relay losing connection sporadically.
- Complete Electrical Failure: In more severe cases, a completely dead relay will result in the complete loss of function of the circuit it controls.
Essential Tools for Diagnosis
Before embarking on your diagnostic journey, gather these indispensable tools:
- Vagcom Ross Tech Interface: This powerful diagnostic tool allows you to delve deep into your car’s electronic control units (ECUs), providing invaluable insights into the health of various components, including relays.
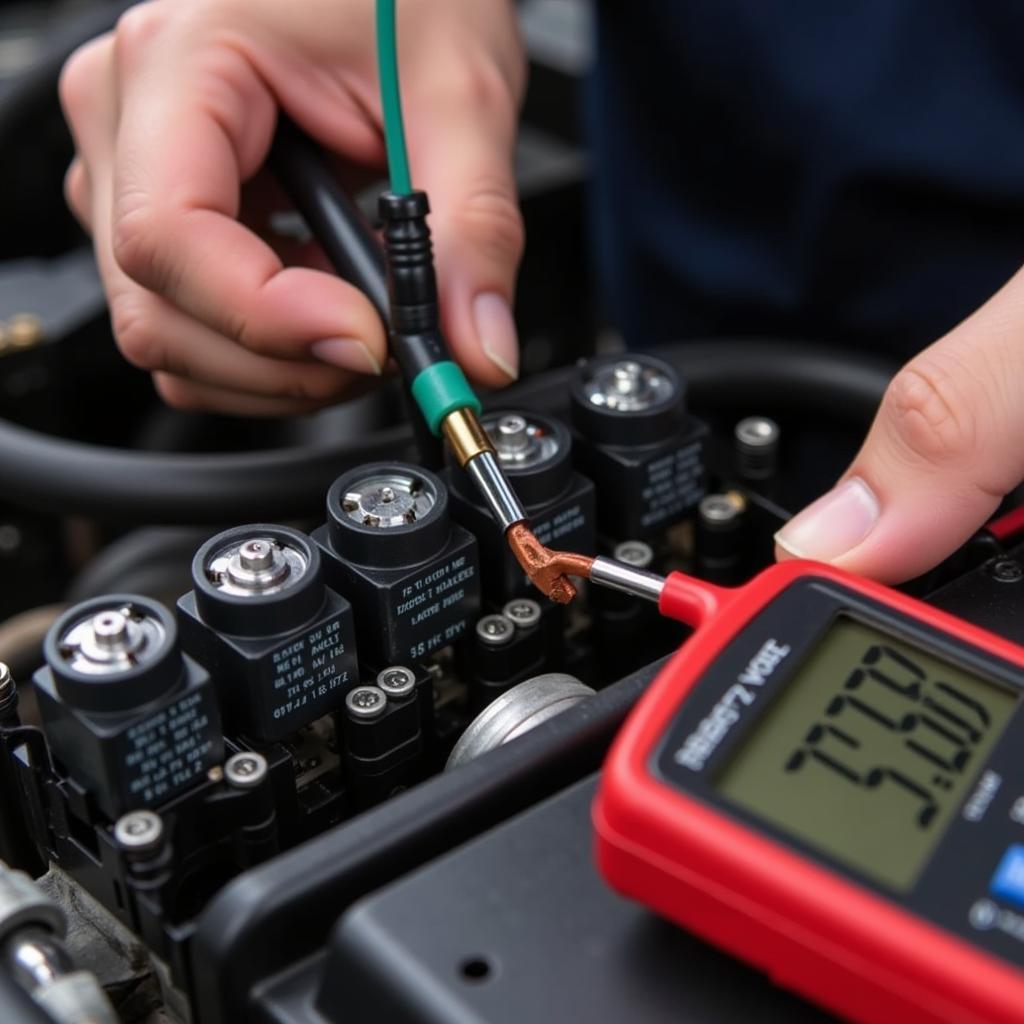
- Digital Multimeter: A digital multimeter is crucial for checking continuity and measuring voltage across relay terminals, helping you determine if it’s functioning as expected.
- Wiring Diagram: Having a wiring diagram specific to your car model is paramount for identifying the correct relay associated with the malfunctioning circuit.
 Vagcom Ross Tech Setup
Step-by-Step Guide to Diagnosing a Bad Relay with Vagcom Ross Tech
Let’s dive into the step-by-step process of using your Vagcom Ross Tech to identify a bad relay:
-
Identify the Suspect Relay: Begin by consulting your car’s wiring diagram and pinpointing the relay that controls the problematic circuit. The diagram will provide its location in the fuse box or relay panel.
-
Connect Your Vagcom Ross Tech: Connect your Vagcom Ross Tech interface to your car’s OBD-II port, typically located beneath the steering column on the driver’s side.
-
Access the Relevant Control Module: Power on your Vagcom Ross Tech software and navigate to the control module responsible for the circuit you suspect is experiencing relay issues. For instance, if you’re troubleshooting a headlight problem, you’d access the lighting control module.
-
Monitor Live Data: Once inside the control module, locate the live data stream related to the circuit in question. Look for any unusual readings, fluctuations, or error codes that might indicate a relay malfunction.
-
Activate the Circuit: With the live data stream active, activate the circuit you’re testing. For example, turn on your headlights if you suspect a headlight relay issue. Observe the live data for changes in voltage or current readings.
 Testing Relay Voltage with a Multimeter
-
Analyze the Results:
- If the live data reflects the expected changes in voltage or current when the circuit is activated, the relay is likely functioning correctly. The problem might lie elsewhere in the circuit, such as wiring or the component itself.
- If the live data remains unchanged or shows erratic readings, the relay is likely faulty and needs replacement.
-
Double-Check with a Multimeter (Optional): To confirm your diagnosis, you can perform a continuity test on the relay using a digital multimeter. This involves checking for continuity across the relay’s switching contacts when it’s energized and de-energized.
Seeking Expert Assistance
While the Vagcom Ross Tech is a powerful tool for diagnosing relay issues, remember that every car and electrical system is unique. If you encounter difficulties during the diagnostic process or need further assistance, don’t hesitate to seek guidance from experienced automotive electricians or qualified mechanics.
“Diagnosing relay problems can be tricky, but with the right tools and knowledge, you can save yourself time and money by pinpointing the exact culprit,” advises John Miller, Senior Automotive Electrician at VCDSTool. “Remember to always consult your car’s wiring diagram and utilize the power of diagnostic tools like the Vagcom Ross Tech for accurate results.”
Conclusion
Mastering the art of diagnosing a bad relay using the Vagcom Ross Tech equips you with the knowledge to tackle common car electrical issues head-on. By following this comprehensive guide, you can confidently identify faulty relays, saving yourself potential headaches and unnecessary expenses.
For further assistance and expert advice on automotive electrical diagnostics, feel free to contact us at VCDSTool: +1 (641) 206-8880 and our email address: vcdstool@gmail.com. Our office is located at 6719 W 70th Ave, Arvada, CO 80003, USA.
by
Tags:
Leave a Reply