Are you struggling with headlight alignment on your Dodge Durango after replacing a bulb or noticing they’re just not pointing correctly? You’re not alone. Many Dodge Durango owners face this issue, especially with the auto-leveling HID headlight systems. The good news is, you can often recalibrate your headlights yourself using the right car scan tool. This article, brought to you by vcdstool.com, your trusted source for automotive diagnostic solutions, will guide you through understanding headlight calibration and finding the best scan tool for your Dodge Durango.
Understanding Dodge Durango Headlight Calibration
Modern vehicles like the Dodge Durango often come equipped with advanced headlight systems, including auto-leveling features. These systems automatically adjust the headlight beam based on vehicle load and road conditions to ensure optimal visibility and avoid blinding other drivers. However, when you replace a headlight bulb, or if the system experiences a glitch, the headlights might become misaligned, pointing too low or too high.
While manual adjustment screws exist on most headlights, they might not be sufficient for fine-tuning the sophisticated auto-leveling systems in vehicles like the Durango. This is where a car scan tool becomes essential.
Why Use a Car Scan Tool for Headlight Calibration?
- Precision Adjustment: Scan tools allow for precise electronic adjustments to the headlight alignment, going beyond the capabilities of manual screws, especially for auto-leveling systems.
- System Reset: Sometimes, the headlight control module needs to be reset or recalibrated after bulb replacement or system disturbances. A scan tool can perform these necessary resets.
- Diagnostic Capabilities: Advanced scan tools can also diagnose underlying issues within the headlight system, identifying problems beyond just alignment, such as sensor malfunctions.
- DIY Convenience: Using a scan tool empowers you to perform headlight calibration at home, saving time and money compared to dealership visits.
Choosing the Right Car Scan Tool for Dodge Durango Headlight Calibration
Not all car scan tools are created equal. To calibrate your Dodge Durango headlights, you need a tool with specific capabilities. Here’s what to look for:
- OBD2 Compatibility: Ensure the scan tool is compatible with OBD2 (On-Board Diagnostics II) protocols, which are standard for most modern vehicles, including the Dodge Durango.
- Bi-Directional Control: The scan tool must have bi-directional control capabilities. This allows it to not just read data from the vehicle but also send commands to control vehicle systems, including the headlight leveling system. Headlight calibration requires sending commands to the system to initiate the adjustment process.
- Specific Functions for Headlight Calibration: Look for scan tools that explicitly list “headlight calibration,” “headlamp adjustment,” or “auto-leveling system reset” as supported functions, especially for Chrysler, Dodge, or specifically Dodge Durango models.
- User-Friendly Interface: A scan tool with an intuitive interface and clear instructions will make the calibration process much easier, especially for DIYers.
- Reputable Brand and Support: Choose scan tools from reputable brands known for their reliability and customer support. This ensures you have access to updates and assistance if needed.
Cost-Effective Car Scan Tool Options
While professional-grade scan tools can be expensive, there are several cost-effective aftermarket options that can calibrate Dodge Durango headlights. Here are a few types to consider:
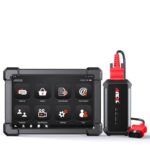
- Mid-Range Professional Scan Tools: Brands like Autel, Launch, and Thinkcar offer scan tools in the mid-price range that often include bi-directional control and specific functions for headlight calibration on a wide range of vehicles, including Dodge Durango. Look for models that specify these capabilities in their features list.
- Brand-Specific Scan Tools (Chrysler/Dodge Focused): Some scan tools are designed with a focus on specific brands. Tools that offer enhanced diagnostics and control for Chrysler, Dodge, Jeep, and Ram vehicles are more likely to have the necessary headlight calibration functions for your Durango.
- Advanced OBD2 Adapters with Software: Another option is to use an advanced OBD2 adapter (like OBDLink MX+, Veepeak OBDCheck BLE) in conjunction with software on your smartphone or laptop (like AlfaOBD for FCA group vehicles). AlfaOBD, in particular, is known for its extensive diagnostic and customization capabilities for Chrysler/Dodge vehicles, often including headlight calibration. This combination can be a more affordable route while still offering powerful functionality.
Important Note: Always check the specific scan tool’s compatibility list and function list to confirm it supports headlight calibration for your exact model year Dodge Durango before purchasing. Manufacturer websites and product descriptions usually provide this information.
Step-by-Step Guide to Headlight Calibration (General Steps)
While the exact steps can vary depending on the scan tool and your specific Dodge Durango model year, here’s a general outline of the headlight calibration process using a scan tool:
-
Preparation:
- Park your Dodge Durango on a level surface, facing a wall or garage door for visual reference.
- Ensure tires are properly inflated and the vehicle is unloaded (no heavy cargo).
- Turn off the engine but keep the ignition ON (accessory mode).
- Connect your car scan tool to the OBD2 port, usually located under the dashboard on the driver’s side.
-
Scan Tool Navigation:
- Power on your scan tool and navigate to the “Diagnostics” or “Service Functions” menu.
- Identify and select the “Headlight Calibration,” “Headlamp Adjustment,” “Auto-Leveling Calibration,” or similar function. You might need to navigate through vehicle systems like “Body Control Module” or “Lighting.”
- Follow the on-screen prompts provided by your scan tool.
-
Calibration Process:
- The scan tool will likely guide you through a series of steps. This may involve:
- Reading current headlight alignment values.
- Performing a system reset or initialization.
- Instructing the system to enter calibration mode.
- Potentially requiring you to manually adjust the headlight screws to a preliminary position as guided by the tool.
- The scan tool then electronically adjusts the headlight motors to achieve proper alignment.
- The scan tool will likely guide you through a series of steps. This may involve:
-
Verification and Testing:
- After the calibration process is complete, the scan tool may prompt you to test the headlights.
- Visually inspect the headlight beam pattern on the wall to ensure they are now correctly aligned.
- Some scan tools allow you to fine-tune the vertical and horizontal alignment electronically within the tool interface.
- Clear any diagnostic trouble codes (DTCs) related to the headlight system using the scan tool.
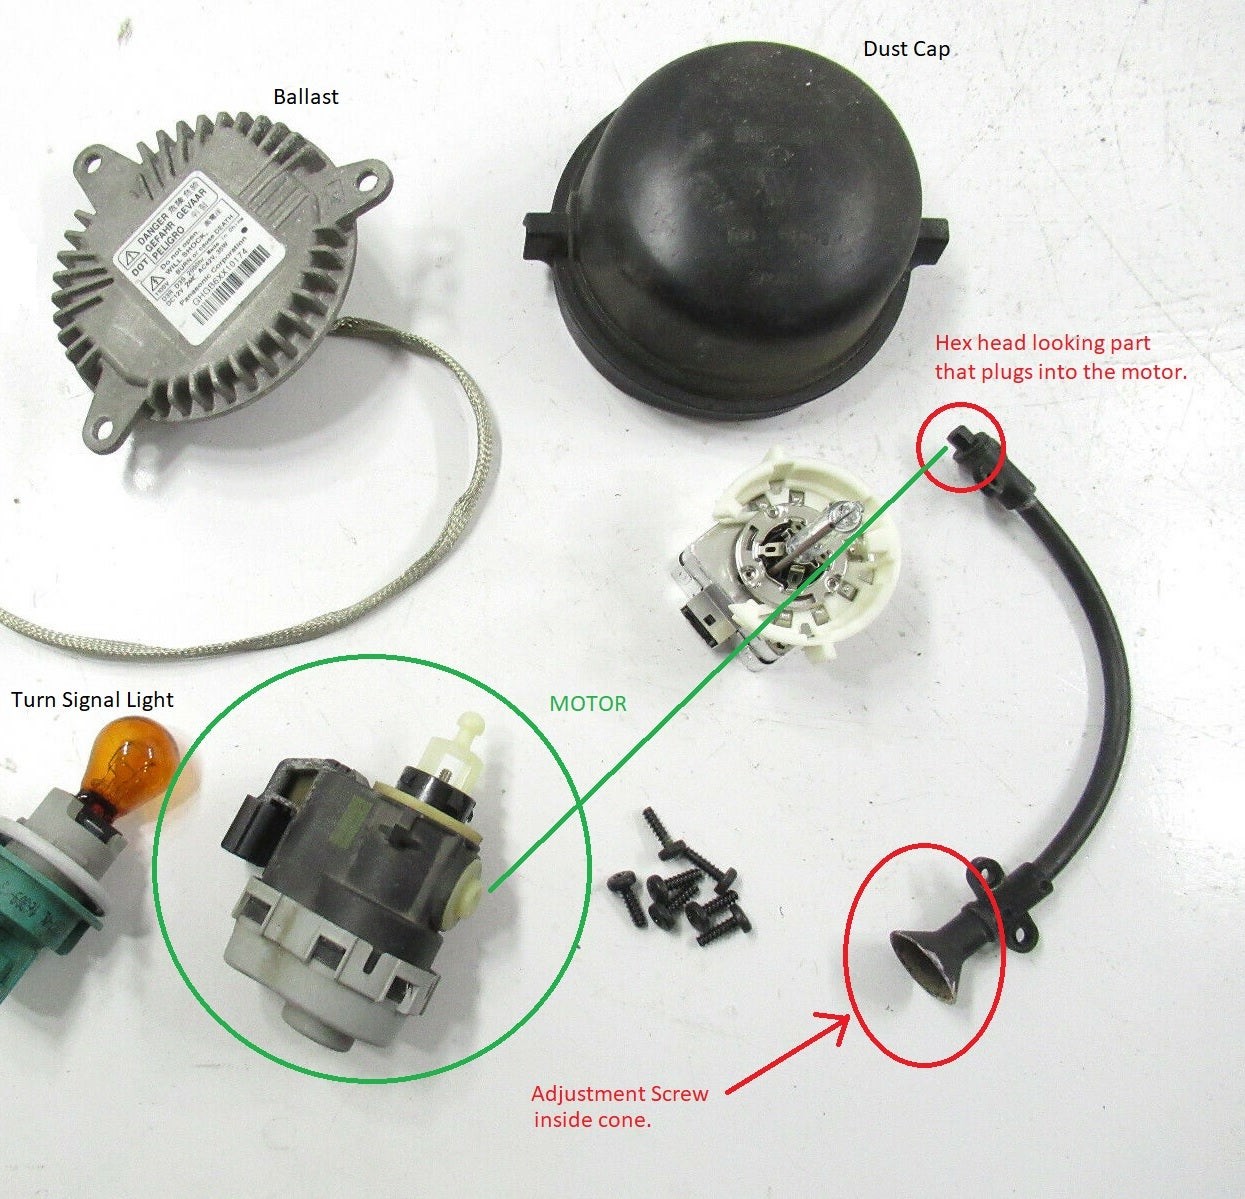
Addressing Manual Adjustment Screws
You mentioned trying to adjust the vertical position using the screw on top of the headlight housing. While these screws are present, they are often intended for minor adjustments or as part of the scan tool guided calibration process.
- Engine OFF for Manual Adjustment: Yes, it’s generally recommended to have the engine OFF when manually adjusting the screws to prevent the auto-leveling motors from counteracting your adjustments.
- Light Switch ON for Visibility: Turning the light switch ON (with the engine off, ignition in accessory mode) is a good idea to see the immediate effect of your manual adjustments on the beam pattern against a wall.
- Caution with Screws: Be gentle when turning the screws. If they feel stuck, don’t force them, as you could damage the adjustment mechanism. Scan tool calibration is often a safer and more effective approach for significant misalignment, especially with auto-leveling systems.
Conclusion
Calibrating your Dodge Durango headlights, especially those with auto-leveling HID systems, is best achieved using a car scan tool with bi-directional control and specific headlight calibration functions. While manual adjustments have limited effectiveness, a scan tool provides the precision and system control needed for proper alignment and system resets.
By investing in the right scan tool, you can confidently address headlight alignment issues yourself, ensuring safe driving and optimal visibility. Visit vcdstool.com to explore a range of compatible car scan tools and find the perfect solution for your Dodge Durango headlight calibration needs. Remember to always consult your vehicle’s repair manual and the scan tool’s instructions for the most accurate and safe procedures. If you are uncomfortable performing these steps yourself, always seek assistance from a qualified automotive technician.