
Bleeding your Ford’s ABS brakes can seem daunting, especially without a scan tool. However, with patience and the right approach, it’s a manageable DIY task. This guide provides a step-by-step walkthrough on how to bleed Ford ABS brakes without specialized equipment.
Understanding Your Ford’s ABS
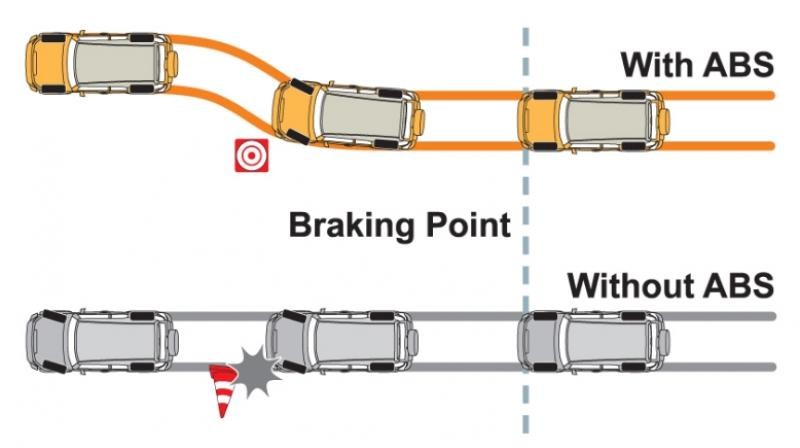
The Anti-lock Braking System (ABS) is a crucial safety feature preventing wheel lockup during hard braking. It ensures your vehicle remains steerable, significantly reducing the risk of accidents. A key component of maintaining a functioning ABS is ensuring the system is free of air. Air in the brake lines compromises braking performance, leading to a spongy pedal feel and reduced stopping power.
Why Bleed Your Brakes?
Air can enter the brake system during repairs, fluid changes, or even from leaks. Bleeding the brakes removes this trapped air, restoring optimal hydraulic pressure and ensuring a firm, responsive brake pedal. Ignoring a spongy brake pedal can be dangerous, leading to increased stopping distances and potential loss of control.
Bleeding Your Ford’s ABS: A Step-by-Step Guide
While a scan tool simplifies the process, it’s possible to bleed your Ford’s ABS without one. Here’s how:
Gather Your Tools: You’ll need a car jack, jack stands, lug wrench, brake fluid (check your owner’s manual for the correct type), a clear container, tubing that fits snugly over the bleeder screw, a wrench that fits the bleeder screw, and a helper.
Prepare Your Vehicle: Park on a level surface, engage the parking brake, and chock the wheels opposite the side you’re working on. Safety is paramount when working on brakes.
Bleeding Process:
-
Locate the Bleeder Screws: These are typically found on the brake caliper or wheel cylinder. Consult your vehicle’s repair manual for precise locations.
-
Bleeding Sequence: The general bleeding sequence is: right rear, left rear, right front, then left front. However, always refer to your vehicle’s specific instructions.
-
Attach Tubing: Attach one end of the tubing to the bleeder screw and submerge the other end in the clear container partially filled with brake fluid. This prevents air from being drawn back into the system.
-
Open the Bleeder Screw: Have your helper firmly press the brake pedal. While the pedal is depressed, slightly loosen the bleeder screw, allowing air and fluid to escape through the tubing.
-
Close the Bleeder Screw: Tighten the bleeder screw before your helper releases the brake pedal. Repeat steps 4 and 5 until no more air bubbles emerge from the tubing.
-
Repeat for Each Wheel: Follow the same procedure for each wheel, ensuring the brake fluid reservoir remains full throughout the process. Never let the reservoir run dry.
-
Top Off Brake Fluid: Once finished, top off the brake fluid reservoir to the appropriate level.
Final Checks and Test Drive
After bleeding all four wheels, carefully inspect for leaks. Have your helper pump the brakes several times while you check for leaks around the bleeder screws and brake lines. Finally, take a cautious test drive in a safe area to ensure your brakes are functioning correctly.
When to Seek Professional Help
While bleeding brakes is a doable DIY task, if you encounter difficulties or are uncomfortable working on your brake system, it’s always best to consult a qualified mechanic. Brakes are critical for safety, and professional assistance ensures the job is done correctly.
Conclusion
Bleeding your Ford’s ABS brakes without a scan tool requires patience and attention to detail. Following this guide and adhering to safety precautions can restore your braking system’s performance and ensure your vehicle’s safety. Remember to consult your vehicle’s repair manual for specific instructions and torque specifications. If in doubt, always seek professional assistance.