This guide provides a detailed walkthrough on how to flash a VAG-COM diagnostic cable for compatibility with VCDS 17.1.3. This process is primarily for restoring non-functional cables or updating older versions. Caution: Flashing a working cable carries the risk of rendering it unusable. Proceed only if your cable is already malfunctioning or you’re comfortable with the risks involved. This method focuses on flashing without a programmer.
 alt text: Atmega 162 Chip on a VAG-COM Cable
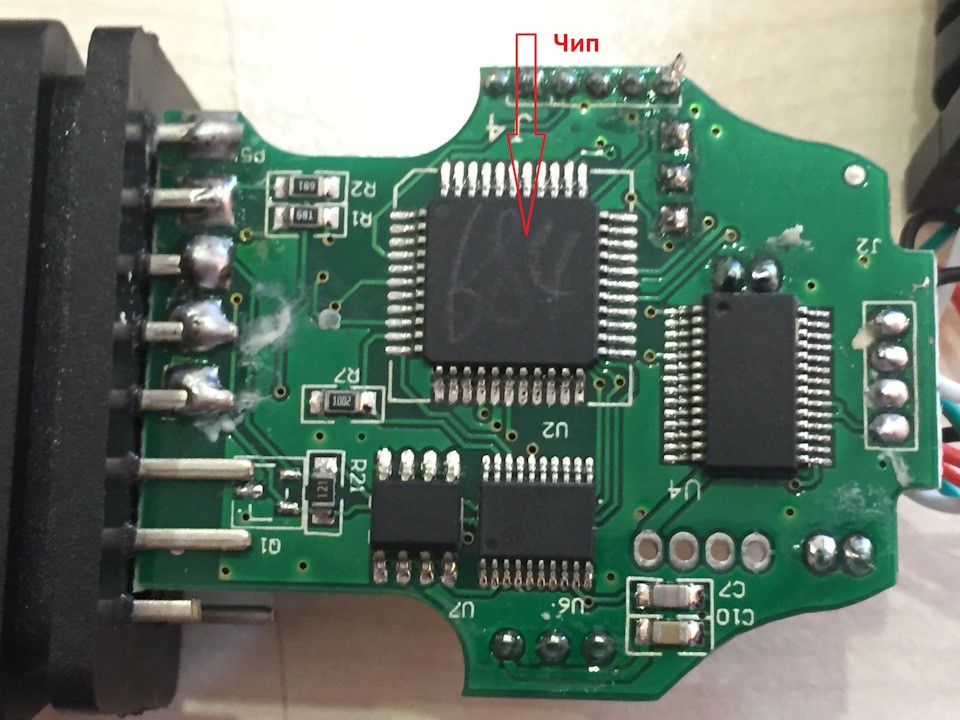
Identifying Your Cable Chip:
Before you begin, you need to determine which chip your VAG-COM cable uses. Only cables with the Atmega 162 chip can be flashed using this method. Open the cable casing and locate the chip. If it doesn’t say “Atmega 162”, this guide won’t work for your cable. NEC based chips are not compatible with the process outline here.
Downloading the Necessary Files:
You will need a specific flashing tool and firmware. While the original article referenced specific download links, those have been removed. Search online forums and communities dedicated to VCDS for the latest compatible files for Vcds 17.1.3 Commutation. Look for a modified V6.3 flasher and loader, along with the appropriate firmware.
Connecting the Cable:
Connect your VAG-COM cable to your computer’s USB port. You’ll also need to supply 12V power to the cable. This can be done with a dedicated power supply or by connecting the cable to the OBD-II port of a vehicle.
Initiating the Flashing Process:
Launch the flashing tool. Once the cable is connected and powered, click the “WRITE” button in the flashing software. If your cable’s Product ID (PID) is FA24 and it’s in bootloader mode, the flashing process should begin.
Troubleshooting “Interface Not Found” Error:
If you encounter an “Interface not found” error, it could be due to several reasons:
- Incorrect PID: Your cable’s PID might not be FA24.
- Power Issues: The cable may not be receiving sufficient power.
- Faulty Cable: The cable itself might be damaged.
Manually Changing the PID:
To check if the cable is in bootloader mode, manually enter your cable’s PID into the flashing tool. You can find the PID in Device Manager. If the flashing process starts after manually entering the PID, your cable was in bootloader mode. If not, you may need to use the MProg utility included in the downloaded archive to change the PID to FA24. Select the correct firmware file for your FTDI chip (BLBL or RLRQ). An incorrect selection will result in an “Interface not found” error in MProg. After changing the PID, disconnect and reconnect the cable to allow driver reinstallation.
Important Note: Do not move the flashing tool window during the flashing process. Doing so may interrupt the process and potentially damage the cable.
Verifying the Flash:
A successful flash will result in an “OK” message. If you see “Not in bootloader mode”, try clicking “WRITE” multiple times. If this doesn’t work, you may need a programmer to recover the cable.
Testing the Cable:
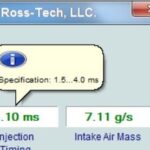
After flashing, test the cable with VCDS 17.1.3 to ensure proper functionality. Remember to correctly install VCDS and block the host file to prevent license issues. Consult online resources for detailed instructions on installing and configuring VCDS.
Conclusion:
Flashing a VAG-COM cable for VCDS 17.1.3 commutation can be a successful way to revive a non-working cable or update an older one. However, it’s crucial to identify the correct chip, use the appropriate files, and follow the steps carefully to avoid potential problems. If you encounter difficulties, refer to online forums and communities for assistance. Remember to always back up your original firmware before attempting any flashing procedure.