
This guide provides a comprehensive walkthrough for installing VCDS 18.2 software, utilizing the VCDS Loader EXE file. Successfully installing and activating VCDS 18.2 allows you to diagnose and troubleshoot issues in Volkswagen, Audi, Seat, and Skoda vehicles.
Installing VCDS 18.2 Software with VCDSLoader.exe
Before you begin, ensure your computer meets the minimum system requirements: a 500Mhz processor or faster, a working USB port, and an operating system newer than Windows 98 (Windows XP or later with a 1GHz processor is recommended).
Crucially, do not connect your VAGCOM cable to your PC until instructed.
Here’s a detailed installation process:
-
Install the VCDS Software: Run the “VCDS-Release-18.2.0-Installer.exe” file. On 64-bit systems, ensure you select the “Install 32-bit EXE on 64-bit System” option during installation. After installation completes, do not launch the software.
-
Copy VCDSLoader.exe: Locate the “VCDSLoader.exe” file and copy it into the VCDS installation directory. This is typically found at “C:Ross-TechVCDS”.
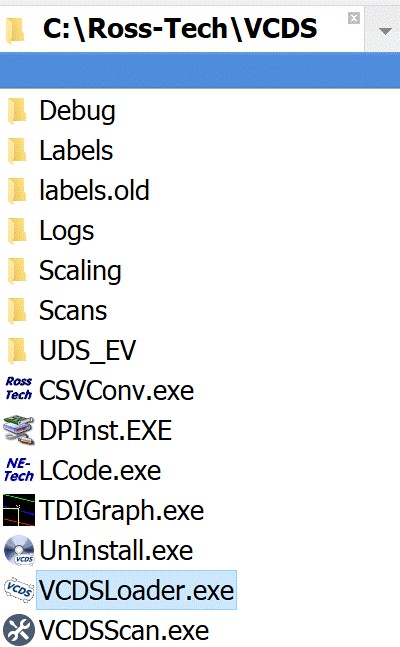 vcds folder location
-
Connect the VAGCOM Cable: Now, connect your VAGCOM cable to your PC’s USB port. Allow approximately 20 seconds for Windows to automatically install the necessary drivers.
-
Launch VCDS with VCDSLoader.exe: Run “VCDSLoader.exe” to start the VCDS software. Always use VCDSLoader.exe to launch the software in the future.
-
Test Your Installation: Within the VCDS software, navigate to “Options” and then click “Test” to verify the connection to your vehicle and the functionality of the software.
Activating VCDS 18.2
Activation is generally handled through your supplier. Contact them for a registration file specific to your hardware. You’ll likely need to provide them with information generated by the VCDS Loader software. Once you receive the registration file (“register_license_XXXX.dat”), use VCDS Loader to complete the activation process.
Troubleshooting and Further Assistance
If you encounter any issues during the installation or activation process, consult the documentation provided with your VAGCOM cable or contact your supplier for support. The initial setup might seem complex, but following these steps carefully ensures a stable and secure diagnostic experience. This process protects the integrity of the interface and ensures reliable operation.